
It’s funny how the name of a recipe can attract your attention.
This recipe for ‘Yorkshire Beef’ was in a Betty Crocker cookbook from 1983 (General Mills). I read through it, thinking I’d find out how the recipe got its British sounding name.
Nothing.
In fact, it was quite like a lot of casserole dishes I served when my kids were home – one-dish, inexpensive meat, simple vegetables, and quick assembly.
If you company lingers after Christmas, try serving this simple, filling dish and see if you don’t have requests for second helpings! Kids could help with the assembly.
PS: If you tell them the fancy name, they may be even more willing to give it a go!

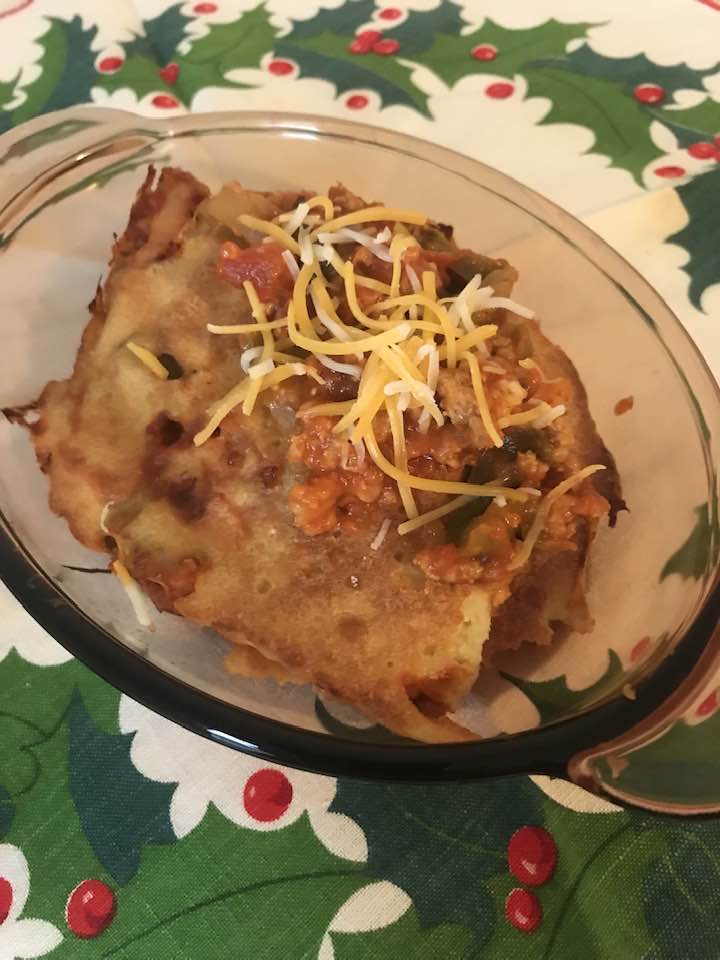
Yorkshire Beef
1 pound ground beef (I will double this in future)
1 can (15 oz.) tomato sauce
¼ c. chopped green pepper
2 T. flour
1 t. dried parsley flakes
½ t. salt
¼ t. pepper
1 c. shredded Cheddar cheese (about 4 oz.)
2 eggs
1 c. milk
1 T. vegetable oil
1 c. all-purpose flour
½ t. salt
2 T. chopped green onions
Heat oven to 425 degrees.
Cook and stir ground beef in 10-inch skillet until brown; drain.
Stir in tomato sauce, green pepper, 2 T. flour, parsley flakes, ½ t. salt and pepper.
Heat to boiling, stirring constantly. Boil and stir 1 minute.
Pour into ungreased baking pan, 13×9.2 inches. Sprinkle cheese on top.
Beat eggs, milk, oil, 1 c. flour and ½ t. salt with hand beater until smooth; pour over cheese.
Sprinkle with green onions. Bake until golden brown. 25-30 minutes. Serve immediately.
**
My notes: I found this a simple dish to make.
Time of assembly: 15 minutes.
You could use a biscuit topping as well, which was the short-cut I used to do, cutting the prep time even more.
All of the ingredients, except parsley, were on my shelf. That makes this a recipe I like and because it tastes great and was simple to prepare. I’ll be making it again, though doubling the amount of meat — the quantity of biscuit topping seemed to call for it.
The number of servings was, surprisingly, not included, but I’d estimate 6-8 — more if the meat is doubled.
**
Vintage Find of the Week
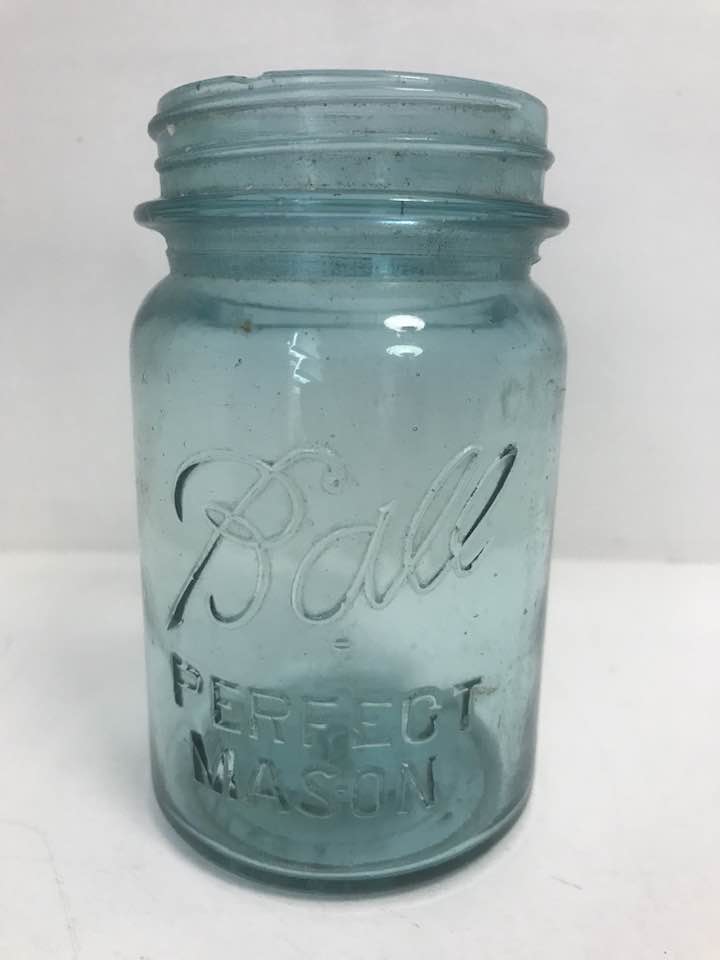
I love canning jars, especially old ones – and really especially, colored jars. Thus far, I only have blue in my collection.
I find them at thrift and antique shops, and in online auctions.
The funny thing (to some people) is that I have never canned food and never will. Too much work in my opinion.
I know many women who do can food and I’m in admiration for their dedication to putting out a garden and seeing it through to the canning stage.
But all that to say – I love the look of canning jars and their decorative uses. I’ll report on this in future posts, but for now, just be aware of some of the history of these simple jars. They transformed American cooking!
Mason jars
The discovery of canning in Mason jars brought preserving of foodstuffs – especially fruits — home.
Before these jars were invented in the mid-1880s, home canning required sealing wax which was messy and could be dangerous to one’s health.
In 1858, John Mason invented a machine that cut threads inside a lid. That made it possible to manufacture glass jars with a rubber ring to create the seal and screw-on-lid to make sure it stayed that way.
**
There’s more to learn about these sturdy jars, but it’s Christmas and possibly not a time to deep-dive into food preservation history.
I hope you had — and continue to have — a joyous season!
Happy cooking!
#Yorkshirebeef #meat #VintageEats #Vintagerecipe #Vintagecookbook #cookyourbooks2025 #cookingfrommyshelf #cookbookchallenge #cookbooks #vintagerecipes #BakingFromScratch #BakingLove #Recipes #Food #Recipe #Cooking #Homemadefood #HealthyEating

Leave a comment