
Happy Birthday to me!
This week I celebrated my birthday with family and friends. It was a great day but the first one without my husband.
If you follow this blog, you’ll know that I have talked about life following my husband’s death last year.
It has been tough. Actually, as I’m sure most widows would agree — it has been horrible. Things to figure out with paying bills, maintaining a home, finding someone to do repairs, etc. Taxes are the big thing looming ahead. Ugh.
That’s all besides handling the sad, bad memories of caregiving and his last days. Sigh.
Friends and family have been great. But they can’t be there every minute. I don’t want them to be there every minute. That would not be good for them or me.
I turn to God to help me through the stress. He has been a part of my life since I was born and that is not about to change now. He didn’t promise us a life without pain but a future with Him in Heaven which makes it worth it.
While I’m still working through the sadness at missing my best friend of 45 years, I have found pleasure in baking.
And that was never more true than when I decided to make my own birthday cake!

I chose a Battenburg as I had seen made by bakers on The Great British Baking Show (Seasons 2, 8, 11).
A Battenberg (or Battenburg) cake is a light sponge cake with different colored sections held together with jam and typically covered in marzipan. In the cross section, the cake features a checkerboard effect with alternating squares (usually light and dark for contrast), although often it is colored pink and yellow.
This is a historic cake as it was created as a wedding gift for Prince Louis of Battenberg and Princess Victoria who was the granddaughter of Queen Victoria. By giving it the Battenberg name, the cake honored England’s newest royal family member.
I pulled out my Chicago Metallic Checkerboard Cake Pan Set (1980) which I had purchased in a thrift shop and set to work.
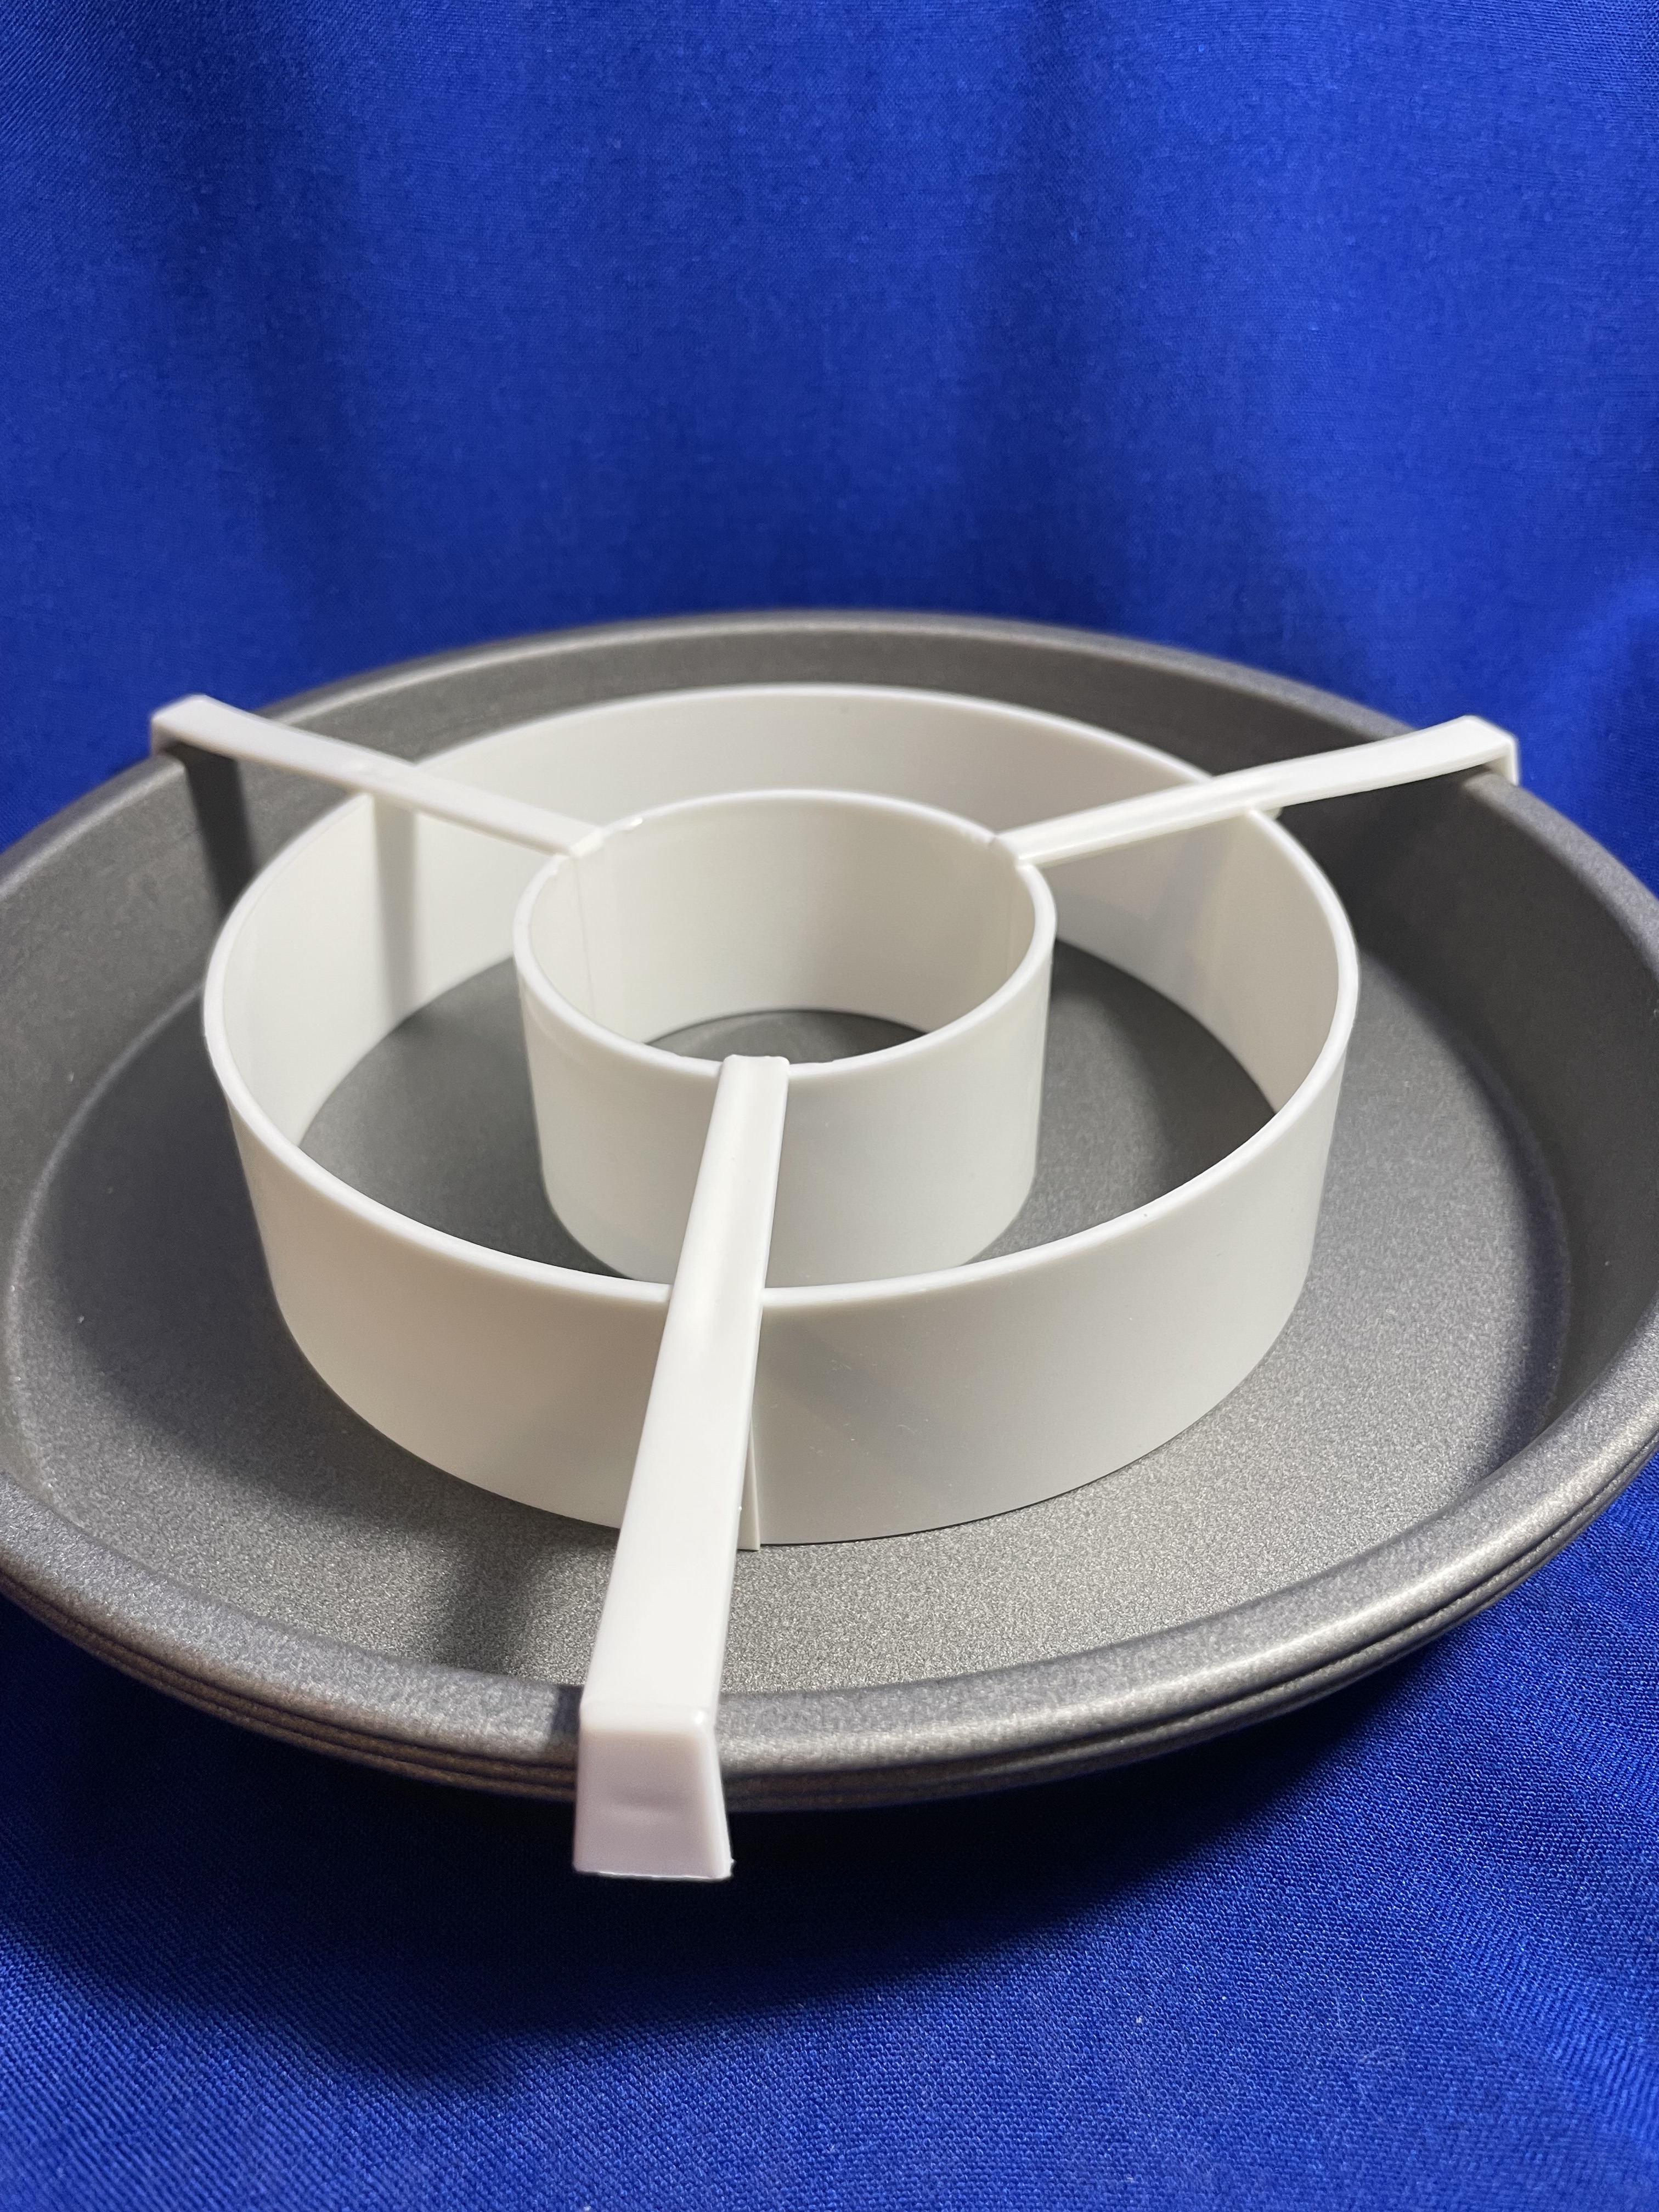
The box contained three 9” round non-stick cake pans and a batter divider. Recipe and instructions were printed on the box.
I read the directions carefully. The section of how to implement the cake pans and divider was not too difficult to understand and I did it correctly the first time.
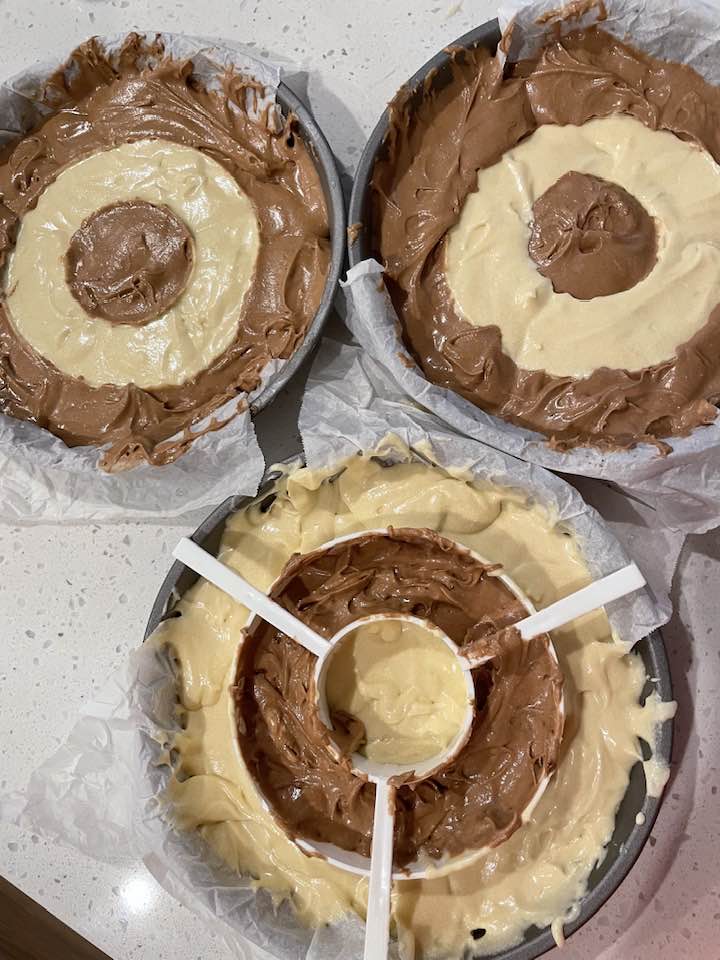
It took a while to put the batter individually into separate sections of each pan and then wash and dry the divider for the next pan. But at last they were ready for the oven.

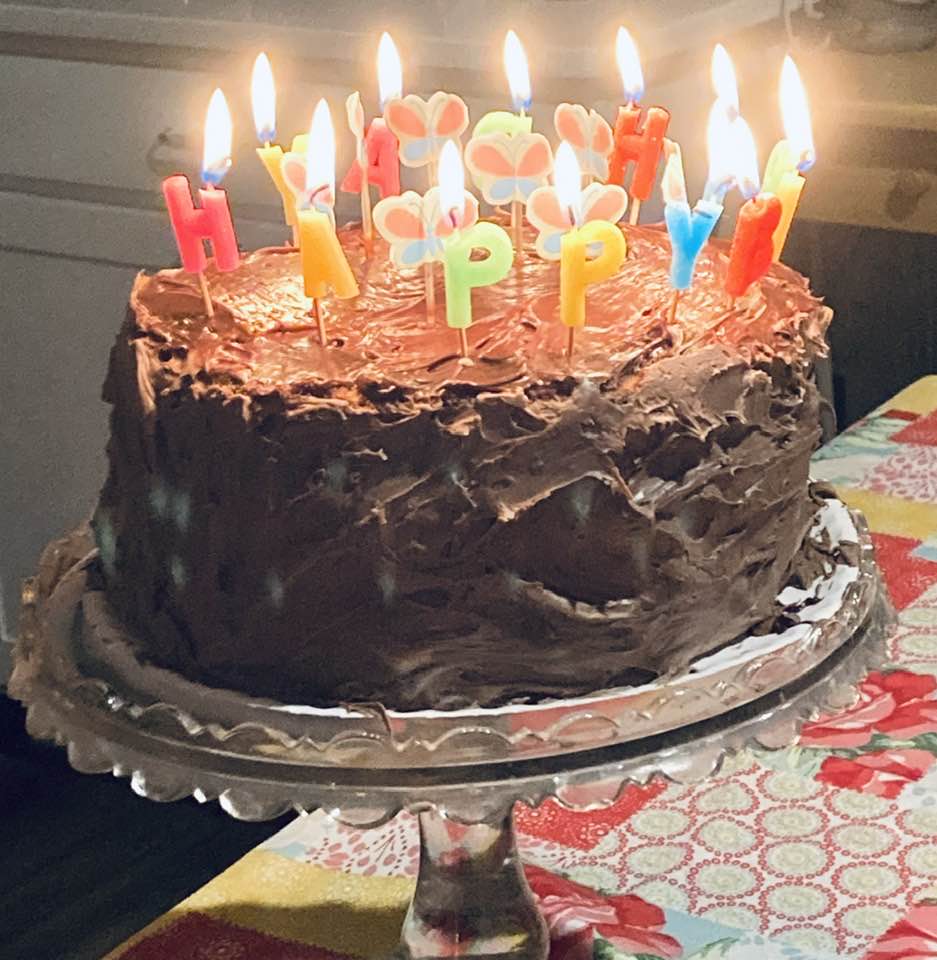
Here is the final product, placed on a beautiful glass cake plate that had been Mom’s (I love it!). It was surprisingly dense. I followed the instructions completely and didn’t overbake it, so I’m guessing it was created that way to give the best look to the checkerboard. Perhaps I’ll look for a different recipe the next time. My daughter helped make my birthday special by inviting friends over and making sure everyone knew it was my birthday, i.e. lots of cards arrived. Thanks, Mandy!
Should you want to create a Battenberg of your own, Chicago Metallic Checkerboard Cake Pan Sets can be purchased online.
See My Notes at the bottom for tips on making this special cake.
Recipe from the box:
3 ounces semi-sweet chocolate (1/2 c.)
4 c. sifted cake flour
3 t. baking powder
1 t. salt
1 c. unsalted butter, softened (2 sticks)
2 c. sugar
4 eggs
1 T. vanilla
1-1/3 c. milk, room temperature
- Melt chocolate over hot – not simmering – water. Set aside to cool slightly.
- In a small bowl combine flour, baking powder, and salt. Set aside.
- In large bowl cream but and sugar. Add eggs one at a time, beating after each addition. Add vanilla.
- Add milk and flour to but mix, alternating each until batter is smooth. Beat at medium-high speed for 30 seconds.
- Divide batter in half (approximately 3 cups). Stir melted chocolate into one half of the batter until uniform in color.
- Place checkerboard divider into one prepared pan. Then pour in the 2 batters (light and dark) as described.
- Place pans in center of preheated 325-degree oven and bake for 25 minutes. Test for doneness by inserting cake tester into centers. It should come out clean.
- Allow cakes to cool in pans, sitting on racks for 10 minutes. Loosen sides with spatula and invert onto greased wire racks to cool completely.
- When cool, stack cakes so outside colors alternate. Use thin layer of frosting between layers so checkerboard effect is maintained.
Yield: 12 servings
My Notes:
- Rather than use a double boiler, I melted the chocolate in the microwave in 20 second increments so as not to burn it.
- The box didn’t mention using marzipan but included instructions for making frosting. After all of the fiddly cake batter divider business, I chose to use frosting from a tub. It worked well.

Leave a comment